


1.1 TeX Live 설치
Step 1.
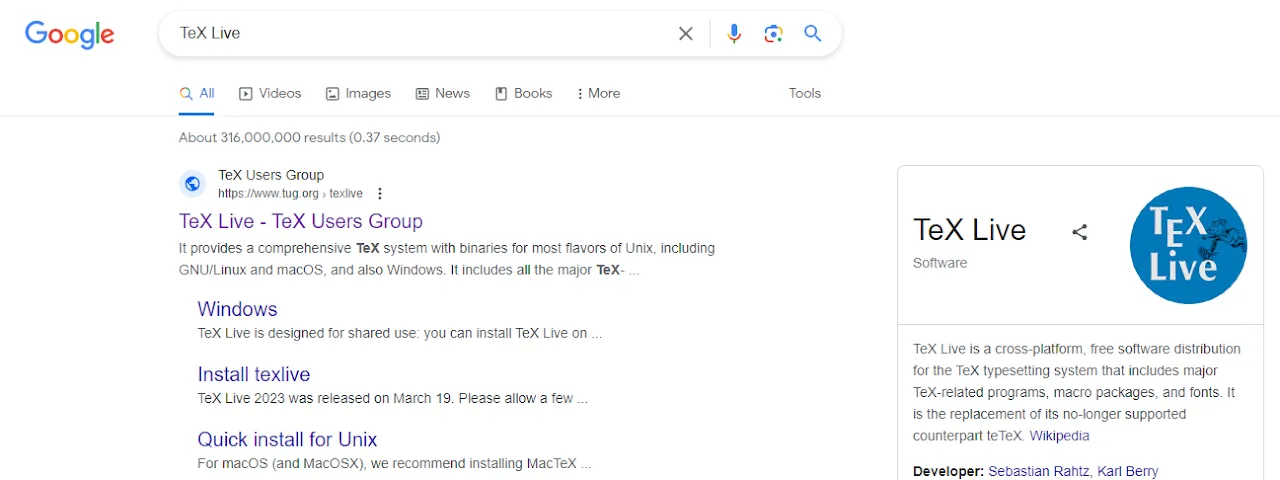
Google에서 TeX Live를 검색하여 사이트에 접속하세요.
Search for TeX Live on Google and visit the website.
Step 2.
.png&blockId=2990b1ff-a61e-808a-993b-e4d3ee6c291b)
자신의 컴퓨터 OS에 맞는 설치 파일을 다운로드하세요.
Download the installation file suitable for your computer's operating system.
Step 3.
.png&blockId=2990b1ff-a61e-802f-aa2a-f465959e45fb)
.png&blockId=2990b1ff-a61e-8074-8d81-de1b45e7c909)
TeX Live Installer를 실행하세요.
Windows에서는 계정 이름이 영어로 되어야 합니다.
Run the TeX Live Installer.
Step 4.
.png&blockId=2990b1ff-a61e-80c7-a901-ee8d10b13253)
잠시 기다리면 다음과 같은 창이 뜹니다. 'Install' 버튼을 클릭하면 설치가 진행됩니다. (오랜 시간 소요)
Click on the 'Install' button to proceed with the installation. (It may take a while)
Step 5.
.png&blockId=2990b1ff-a61e-80ea-8457-c6d73c06c6a5)
TeX Live가 무사히 설치되었다면 다음과 같은 화면을 확인할 수 있습니다. 'Close'를 클릭하여 설치를 완료하세요.
If TeX Live has been successfully installed, you can see the following screen. Click on the 'Close' button to complete the installation.
1.2 VS Code 설치(Installation)
Step 1. 홈페이지(Homepage)
오른쪽 배너를 클릭해서 홈페이지로 이동하세요.
Click the right picture to go to the homepage.

Step 2. 다운로드(Download)
사용하는 컴퓨터의 OS에 맞게 VS Code를 다운 받으세요.
Download VS Code according to your OS.

Step 3. Extension
VS Code를 실행하고, 왼쪽 바에서 'Extension'(사각형 모양)을 클릭하세요.
그 후 아래의 Extension을 모두 다운 받으세요.
Run VS Code and click on 'Extensions' (the square-shaped icon) on the left sidebar.
Then, download all the extensions listed below.
•
LaTex Workshop (by James Yu)
•
Git Graph
•
Git History
•
GitLens — Git supercharged
•
Atom One Dark Theme
•
Atom One Light Theme
•
Code Ace Jumper
•
Code Spell Checker
•
Bookmarks (by Alessandro Fragnani)
•
Todo Tree (by Gruntfuggly)
필요에 따라 다양한 언어의 Extension을 다운 받을 수 있습니다.
You can download extensions in various languages as needed.
•
Python (by Microsoft)
•
Markdown All in One (by Yu Zhang)
•
Julia (by julialang)

Step 4. 결과(Result)
설치가 무사히 끝났다면 다음과 같은 화면을 확인할 수 있습니다.
If the installation is successful, you can see the following screen.

1.3 Git 설치(Installation)
Step 1. 홈페이지(Homepage)
오른쪽 배너를 클릭해서 홈페이지로 이동하세요.
Click the right picture to go to the homepage.
Step 2. 다운로드(Download)
사용하는 컴퓨터의 OS에 맞게 VS Code를 다운 받으세요.
Download VS Code according to your OS.

Step 3. Git 설치(Installation)
설치를 진행하세요.
첫번째 그림의 화면에서 시작합니다.
가운데 그림에서 처럼 'Use Visual Studio Code as Git's defulat editor'을 선택해주세요. 안하셔도 큰 문제는 없을 것입니다. 나머지는 변경하지 않고 진행해주세요.
설치가 완료되면 가장 오른쪽 그림의 화면을 확인할 수 있습니다.
Please proceed with the installation.
Start on the screen in the first picture.
Select 'Use Visual Studio Code as Git's Definite Editor' as shown in the picture in the middle. There won't be a big problem if you don't. Please proceed without changing the rest.
When the installation is complete, you can see the screen in the rightmost picture.


1.4 GitHub 가입(Sign up)
Step 1. 홈페이지(Homepage)
오른쪽 배너를 클릭해서 홈페이지로 이동하세요.
Click the right picture to go to the homepage.

Step 2. 회원가입(Sign up)
회원가입을 하세요.
Register as a member.

1.5 기본 문서팩(Basic document pack)
기본 문서팩 다운로드(Download basic document pack)
GitHub에서 기본 문서팩을 다운로드 하세요. ' < > Code '에서 'Download ZIP'을 클릭하세요.
Download the check document from GitHub. Click on 'Download ZIP' in '<> Code'.


파일 설명(File description)
•
Seed document: 문서 작업을 시작하는 기본적인 파일들이 담겨져 있는 폴더입니다. Seed document.tex를 무사히 컴파일 하기 위해서는 'bookmark', 'enumitem' 패키지를 깔아야합니다. Section 1.1의 Step 9와 Step 10을 참고하세요.
Seed document: This folder contains basic files to start document work. To compile Seed document.tex successfully, you need to install the 'bookmark' and 'enumitem' packages. We refer to Step 9 and Step 10 in Section 1.1 for more information.
•
Check document: If this file is compiled well, the installation is complete. (Compiling is learned in Section 2.1.)
•
•
•
